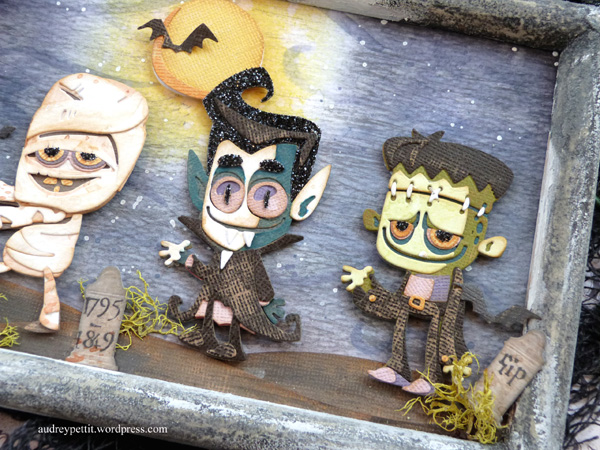
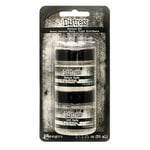
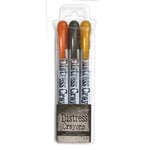
Did you happen to catch the news yesterday? New Tim Holtz Seasonal Mica Distress Crayons are here! Like the Distress Mica Sprays that came out last month, these new crayons are limited edition colors with an amazing pearl mica finish. There are four sets, for a total of twelve amazing new colors that are perfect for all of your seasonal makes… or for a rainbow of fabulous colors that work all year round. I had lots of fun creating some projects for the surprise mid-week reveal, and I’m excited to share the first of them here with you today. Since Halloween is right around the corner, let’s start with this Halloween gift tag.

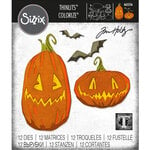
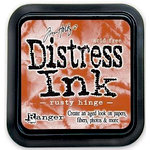
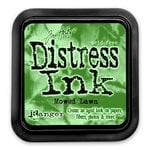
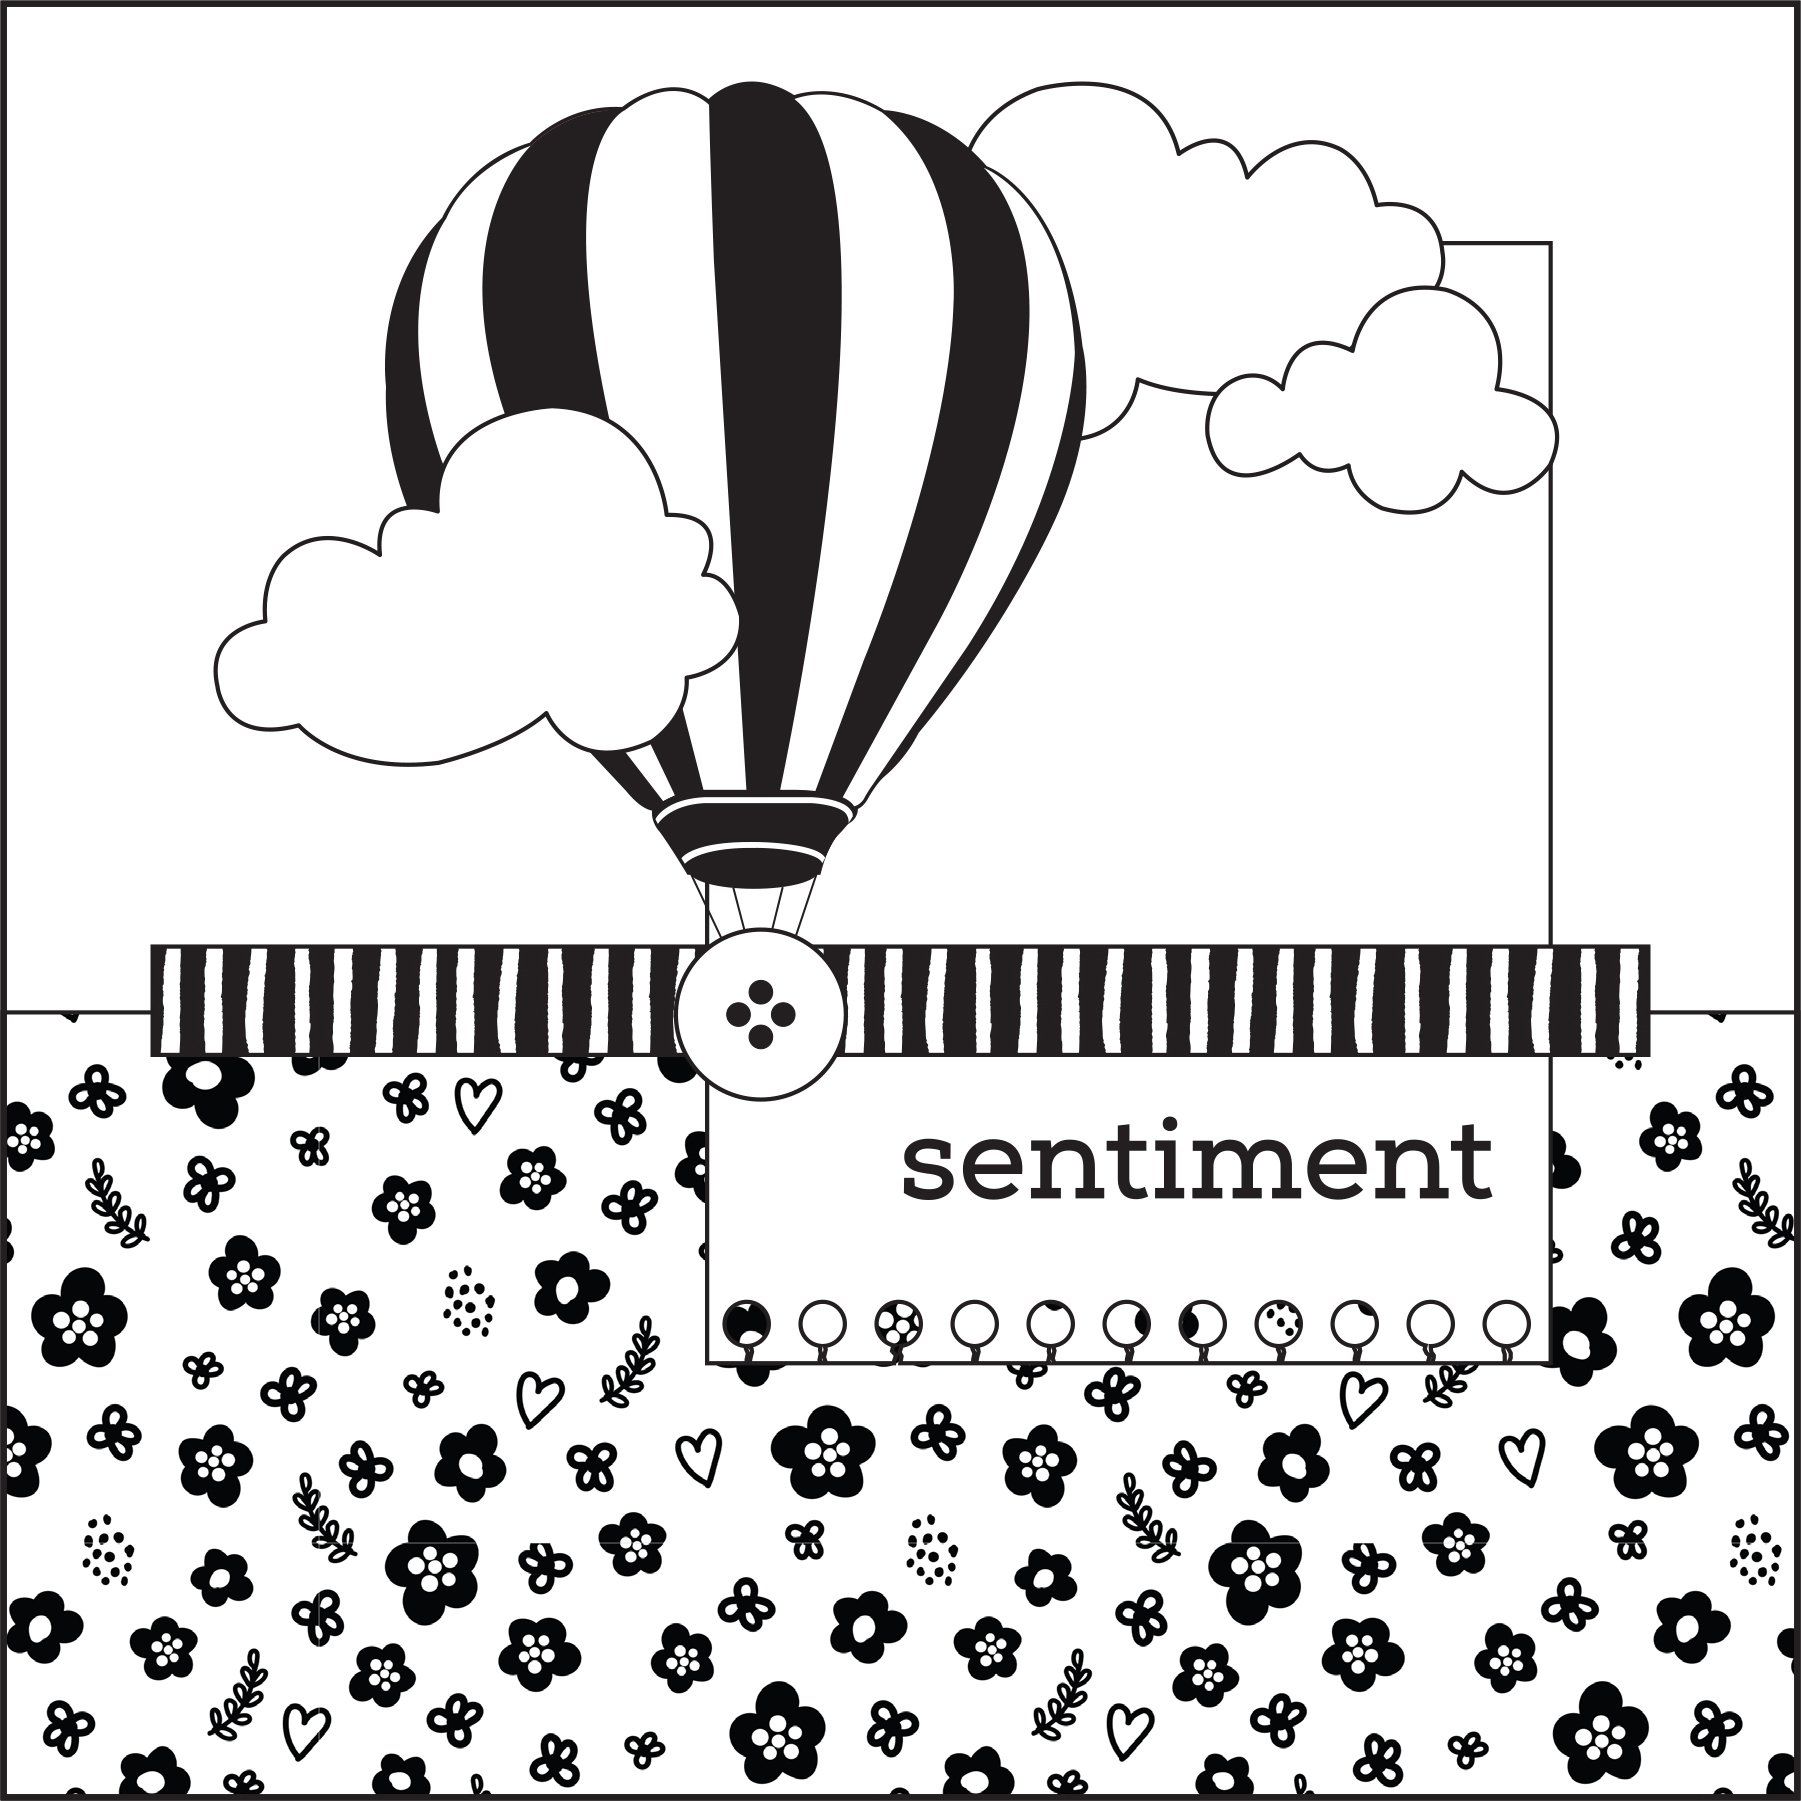
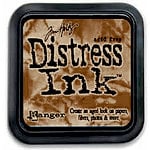
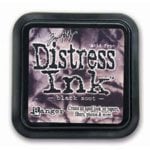
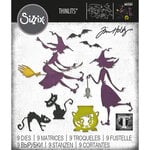
If you’re not familiar with Distress Crayons, you’ll definitely want to watch yesterday’s replay on Tim’s blog or YouTube channel where he demos many tips and tricks for working with this medium. The fun thing about the crayons is that they can be used in many different ways, and I tried to show that in this tag make. One way you can use them is to create gorgeous blended backgrounds, like this wicked web pattern here. Best tip for a smoothly blended background is to coat your paper with Distress Collage medium first, and let that thoroughly dry. I stamped the spiderwebs from the Stamper’s Anonymous Tangled Web stamp set over my coated tag using Black Soot Archival Distress ink. Then you can scribble on the Mica Distress Crayons and blend the pigments out with a damp finger. For this tag, I used the Bubbling Cauldron and Jack O’Lantern Mica Crayons to create this two-tone Halloween design.

You can also color directly with the Distress Crayons, and that is what I did on the scalloped border strip and die cut lettering. And as one final touch, I doodled directly onto the die cuts to add some detail to those, too.
Looking for more Distress Crayon ideas?
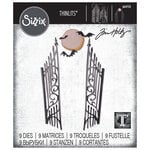
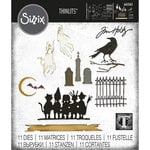
The supplies I’ve used are linked and/or listed below:


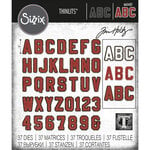


Sizzix Alphanumeric Handmade Bigz XL